 Full PDF Text Version
4th November 2005 - Full PDF Text Version
This document outlines changes to the configuration of Windows 2003 Server SP1 that are required to run IP Office Manager and IP Office Voicemail Pro. Microsoft has introduced a set of security technologies in Server 2003 Service Pack 1 that improves the ability of computers running Windows Server 2003 to withstand attacks from viruses and worms. Changes have been made to DCOM, Windows Firewall and various integrated components. Microsoft has also introduced a new tool to help manage security policy called the Security Configuration Wizard (SCW).
Microsoft has published a white paper that reviews Server 2003 SP1 functionality changes. Addition information on this subject can be found using the following link:
http://www.microsoft.com/downloads/details.aspx?FamilyId=C3C26254-8CE3-46E2-B1B6-3659B92B2CDE&displaylang=en
The security policy enforced by Service Pack 1 requires modifications in order for IP Office applications to work properly and maintain functionality. The following procedure documents the modifications needed for IP Office Voicemail Pro and IP Office Manager to function correctly.
Security Configuration Wizard Installation
Click Settings/Control panel/Add or remove programs, then select add/remove windows components.
Scroll down the list to select and install the "Security Configuration Wizard".
Once installed, to launch the SCW, click Start, then Run, and type scw (scw.exe) or select Control Panel/Administrative tools/Security Configuration Wizard.
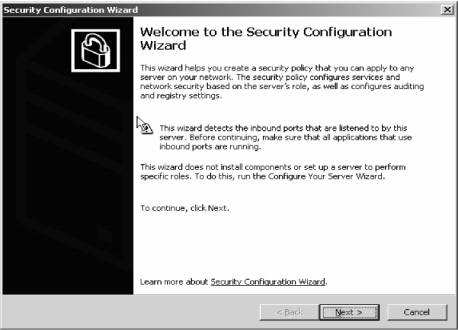
At the welcome screen, click ĹNextĺ to start the Security Configuration Wizard.
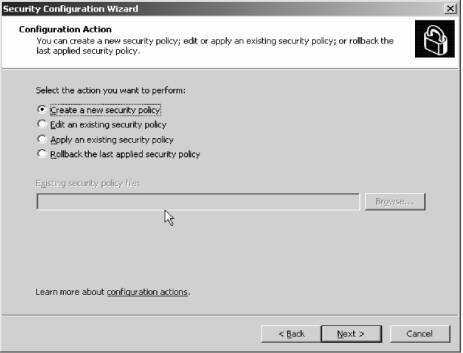
Select "Create a new security policy" then click ĹNextĺ to proceed.
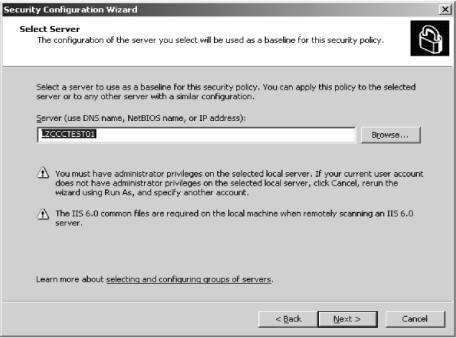
Leave the hostname if it is populated correctly, then click Next (there will be a short pause), when complete click Next. If the hostname is incorrect, click ĹBrowseĺ to search for the correct Server.
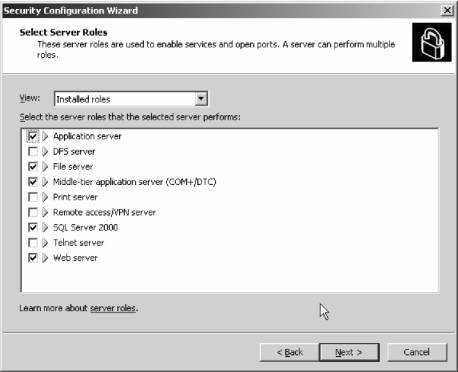
The Select Server Roles defaults should be correct, these should be reviewed and corrected if necessary before selecting ĹNextĺ to proceed. In the example above, SQL Server 2000 has been installed in order to run Compact Contact Center.
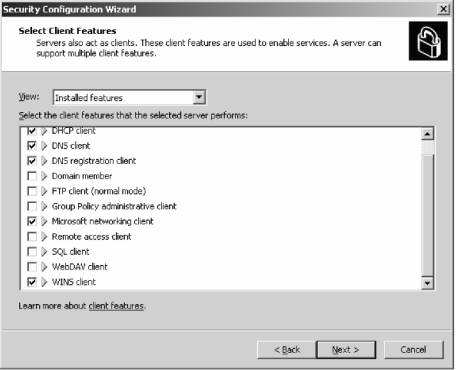
The default ĹInstalled Featuresĺ should be correct for the ĹSelect Client Featuresĺ page, but should be reviewed and amended if necessary before selecting ĹNextĺ to proceed.
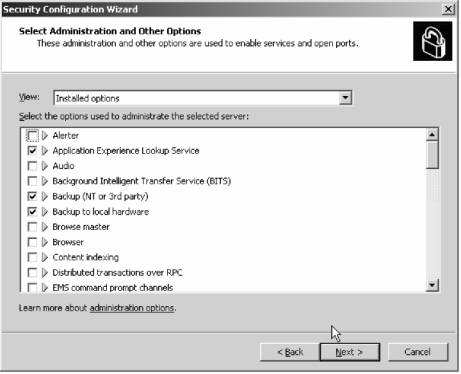
The default ĹInstalled optionsĺ should be accepted by selecting ĹNextĺ.
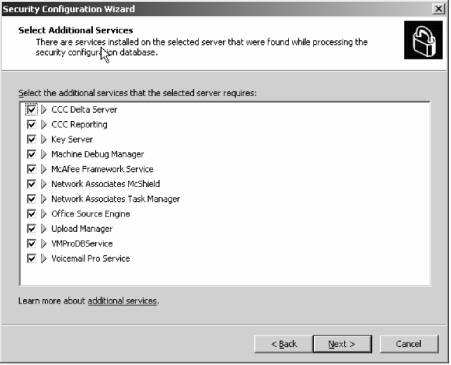
IMPORTANT - Confirm that all IP Office Applications have been checked before selecting ĹNextĺ to continue.
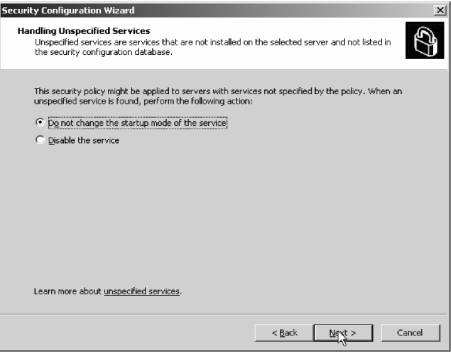
IMPORTANT - ĹDo not change the startup mode of the serviceĺ MUST be selected before clicking ĹNextĺ to proceed.

Review the changes made in the steps above, going back if necessary to correct the changes, before selecting ĹNextĺ to proceed.
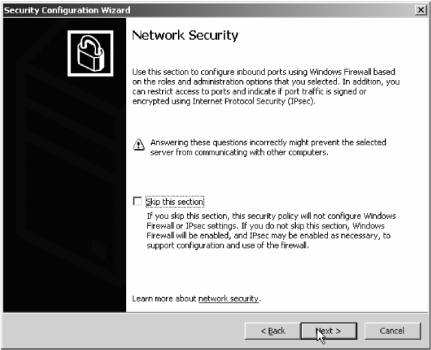
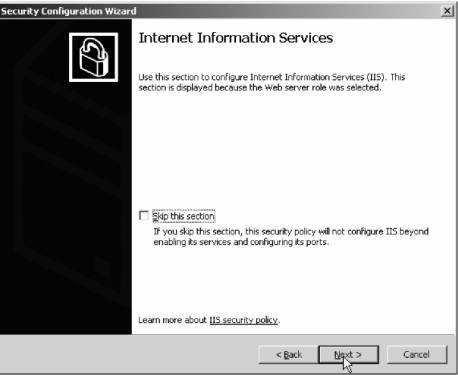
Do not select ĹSkip this sectionĺ, then click ĹNextĺ to proceed.
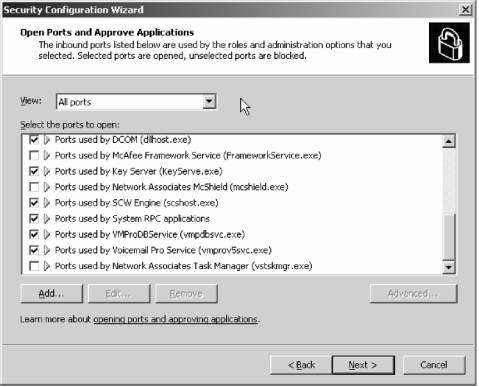
Review the list provided, and confirm that all IP Office applications installed are selected, before clicking ĹNextĺ to continue.
Notice ports used by IP Office Applications:-
Voicemail Pro Database Service ľ

NOTE - the IP Office Manager application will be added to firewall exclusion list in a later step.
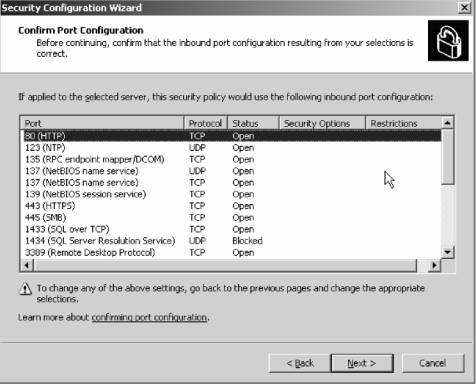
Take time to review the selected ports, then select ĹNextĺ to continue.

Do not select ĹSkip this sectionĺ, then click ĹNextĺ to proceed.
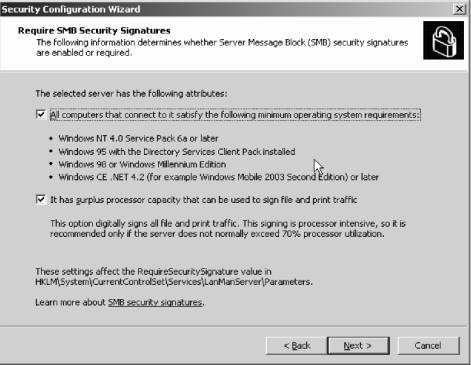
Leave the selections as default to ensure multiple Operating System compatibility then select ĹNextĺ to continue.
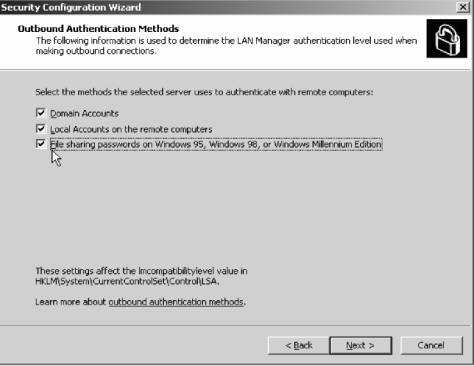
Check all authentication methods for maximum compatibility, then select ĹNextĺ to continue.
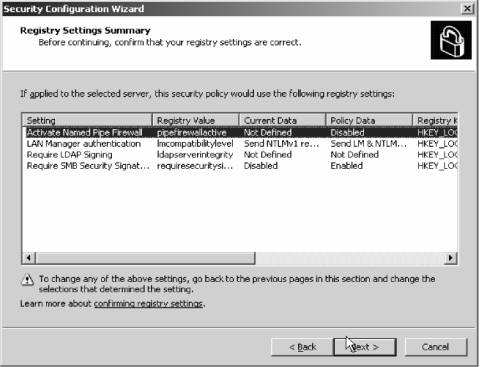
Review the changes you have made, then select ĹNextĺ to continue.
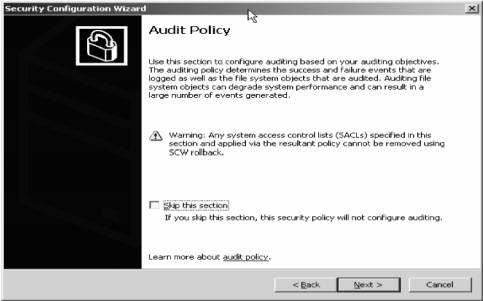
Do not select ĹSkip this sectionĺ, then click ĹNextĺ to proceed.
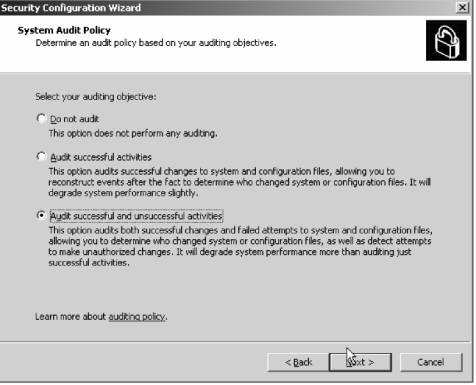
Select an audit policy according to organizational preferences, then select ĹNextĺ to continue.
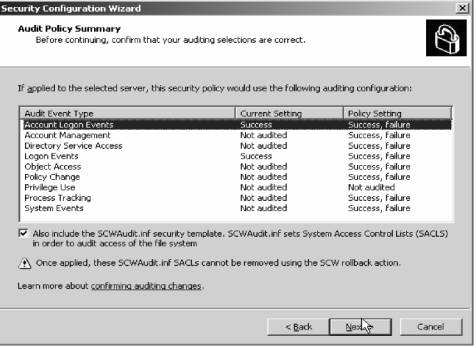
Review and confirm the selected audit policy by selecting ĹNextĺ.
Do not select ĹSkip this sectionĺ, then click ĹNextĺ to proceed.
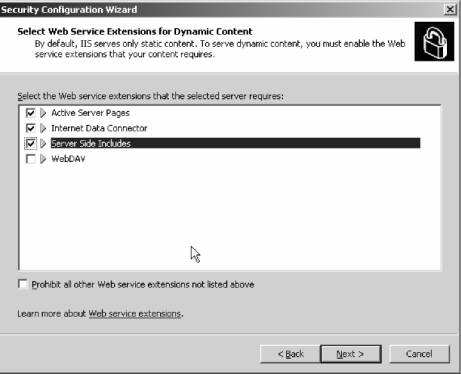
Select the options for supported Web service extensions based on current and future needs, then select ĹNextĺ to continue.
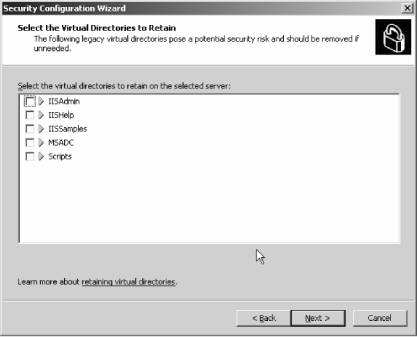
None of these directories are required by IP Office applications and can be left unselected unless otherwise required by alternate applications. Select ĹNextĺ to continue.
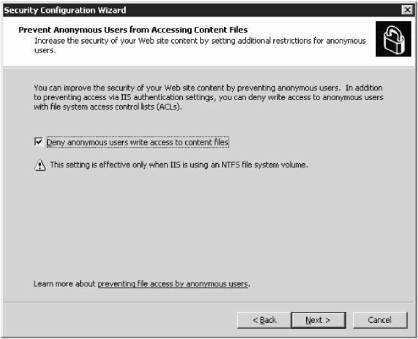
This can be left un-checked to allow anonymous access if desired, or selected to increase security (recommended) if the web server is to be made available for external access. Select ĹNextĺ to continue.
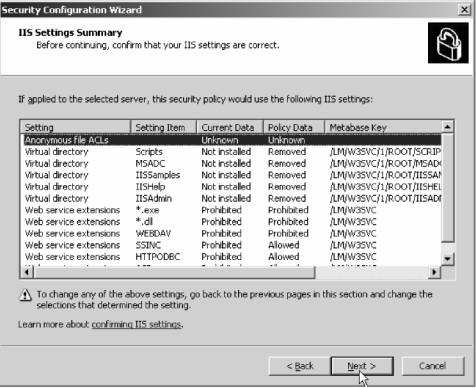
Review and verify the IIS settings then select ĹNextĺ to continue.
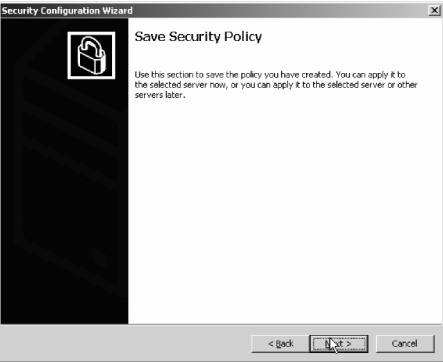
Select ĹNextĺ to save the security policy that has been created by the Wizard.
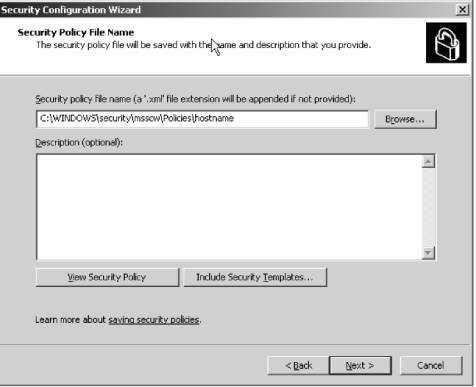
Enter a filename (the PCs hostname) to replace Ĺhostnameĺ, then select ĹNextĺ to continue.
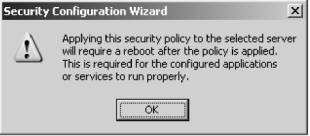
Select ĹOKĺ to continue at the Security Configuration Wizard warning message.
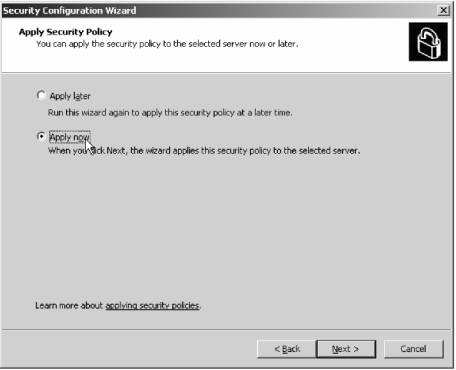
Select ĹApply nowĺ, then ĹNextĺ to make the policy active.
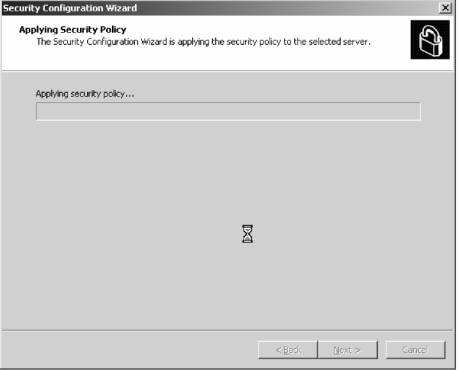
The Wizard will now apply policy. This may take a few minutes. Select ĹNextĺ when complete.
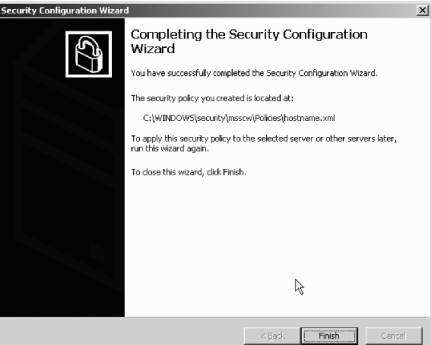
Select ĹFinishĺ to exit the Security Configuration Wizard. A reboot is not prompted for at this point, but is required for some aspects of the security policy to be implemented. If the policy needs reviewing or amending, the Security Configuration Wizard can be run again, and the option to edit a previously saved policy selected.
After rebooting the server, run the IP Office manager application.
This warning will display:
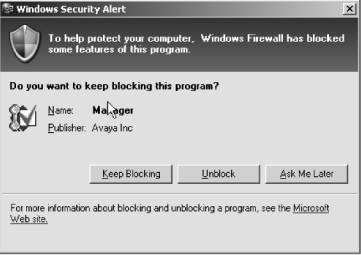
Select Unblock to allow the IP Office Manager application to function correctly, then Login as normal:
The windows firewall has now been updated with an "exception" for the IP Office Manager application.
To confirm this, open ĹMy Network Placesĺ, select the ĹLocal Area Connectionĺ, then right click on this connection to display the properties dialog. Select the advanced tab, then ĹSettingsĺ to display the Windows Firewall settings:
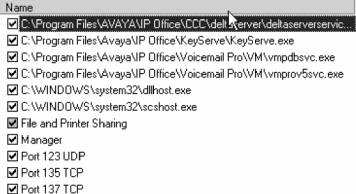
Notice that the IP Office applications are present in the list ľ"manager" is the IP Office Manager application.
An exception is also required for the IP Office Upgrade Wizard.
To add this, select the ĹExceptionsĺ tab, then ĹAdd Programĺ.
Browse to C:\Program Files\Avaya\IP Office\Manager\
Then select UpgradeWiz.exe
Select ĹOKĺ to confirm the selection.

Select ĹOKĺ to add the exception, then verify that the exception has been added by scrolling down to locate UpgradeWiz.exe.
Select ĹOKĺ then ĹOKĺ again to exit the network configuration applet.
Windows 2003 has now been set up allow IP Office Applications to work.